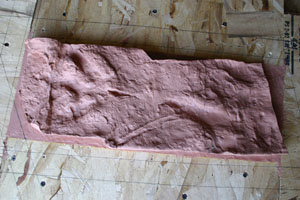
Bird?/Theropod Track
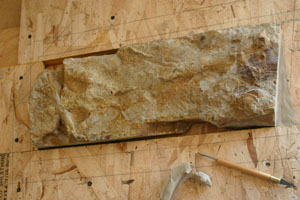
This is how we made our mold for this nice pair of footprints. Do check out the discussion for this piece in the bird or dinosaur replica section of this web site. This is an exceptional specimen because of the many elements which it contains. As I have mentioned in the discussions of the other molds we have made, each piece presents us with obstacles which must be overcome. The initial challenge here was to reduce the thickness of the piece. It was unnecessarily thick for a cast. So, we basically dropped the piece in a hole to get rid of the excess thickness. We then filled in the edges with clay to give us a flat background.
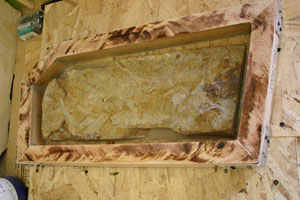
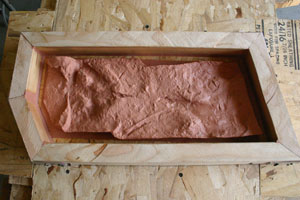
Our next order of business was to build a frame to contain the mold. The frame needs to be about 3/4's of an inch from the specimen all the way around. This allows for enough strength in the mold to resist tearing when the cast is removed from the mold. Additionally the mold must be at least 1/4 inch deeper than the highest point on the fossil (again to decrease the chances of the mold tearing when pressure is brought to bear at this point). It is always a good idea, though, not to put any pressure at any point on the mold which could potentially compromise the life of the mold. The frame must allow for all these needs. So, you build it with this in mind and then you fill the frame with silicone right up to the top of the frame. Sounds easy enough.
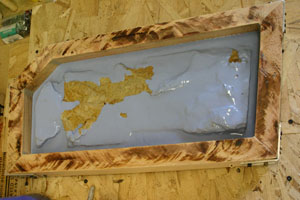
Photograph three shows the silicone going onto the specimen. This is the point at which you must have all your ducks in a row. At this point you are committed to move towards the end. You can not go back and do anything which you forgot to do. What ever the fossil looks like when you pour on the silicone, that is what it will look like forever as a cast. If you filled in a spot on the specimen with clay and accidently left a finger print, it will show forever. If you missed a little bit of saw dust or a hair. It will show on the cast forever. Because of the way we paint our pieces, we bring out ALL of the detail that the piece has to offer, including any screw ups or oversights. So, it is extreemly important to take a few moments to look over the piece before this last step in the molding process. After the last of the silicone has been poured into the frame it is allowed to cure for 24 - 48 hours depending upon the volume used. Weather will also affect the curing time. More time is required for cooler weather.
Another issue with this specimen is that it is a natural cast. This means that it is the result of the infilling, by sediments, of an impression or depression left by what ever made it. So, when you look at the original everything is backwards from the way it originally occured. Things look a little strange and are somewhat harder to figure out. To help with the understanding of the piece it would have been nice if we had the other side. I'm sure the other side has been reduced to gravel a long time ago. If you read the discription for this piece on our web site you will discover that it is a footprint from the end of the Cretaceous. That's about seventy million years ago. The surprise is that there is anything left. To compensate for the lack of the other side, we have made a clay impression. This enables us to view the piece in a way which is somewhat easier to take in.
The fifth photo shows this other side of the footprint. Things are a little clearer, but because everything is all one color it is still somewhat lacking. Once the piece is painted it will show you many things which are difficult to see in the clay copy. Photo six show the clay impression with its mold frame, prior to covering it with silicone.
Photograph seven shows the original specimen with both of the new molds on either side.
The last photo shows the original piece in the middle with the impression to the left and natural cast copy to the right. We used the color of the leaves at the bottom of the original as the color to highlight the footprints, in order to make them more visible.
Original Bird?/Theropod Track from Colorado
Fossil and mold frame
Silicone going onto the fossil
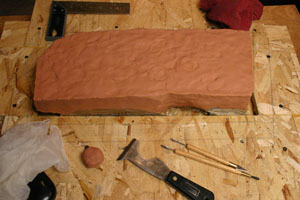
Clay applied to top of fossil for impression
Impression taken from fossil to get other side
Impression and mold frame
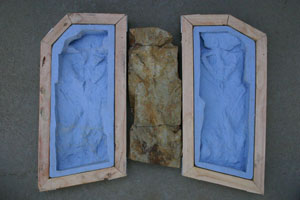
Original fossil with molds of both sides
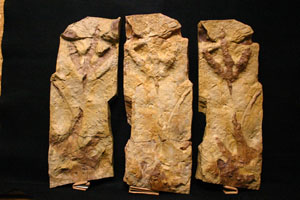
Original (center) and casts at sides